 English
 English
Nov. 03, 2022
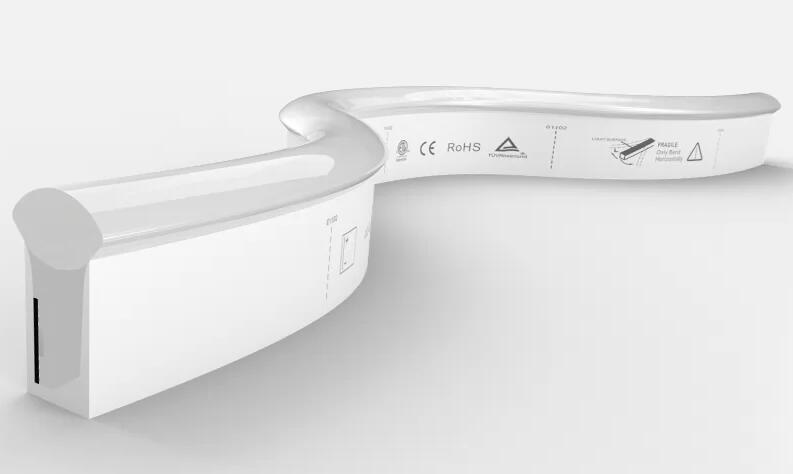
LED Neon Flex lighting is naturally simple to install and the design allows the tube to be easily cut to size, extended, and bent into the correct shape. Here are the steps you need to follow to create the ideal LED lighting fixture.
The LED light strip features a variety of cutting marks to its edges so all you have to do is make an even cut at the point of connection using a sharp cutting blade. It’s important to use a sharp blade as this will ensure a straight cut and you will also avoid pulling any internal wires. If any wires inside the strip are pulled or stretched, the light may be damaged.

The female end of the connector or jumper section should be heated using a heat gun until the plastic section is slightly malleable. Next, you need to position this section over the end of the lighting strip, so that the female pin openings correctly align with the ends of the male power pin.
For a more waterproof seal, we recommend applying a bead of silicone sealant around the end of the flex strip before attaching to the power cord.
Once you have completed your run of lighting strips, you can terminate the LED Neon Flex by fixing an end cap over the exposed cut end, the other end will be where the power cord is connected.
The Neon Flex strip should be positioned so that the exposed wires on the cut end are to the right-hand side.
Then, position the power pin within the pliers with the pin ends facing outward. The male power pin ends should align with the centre of the exposed wires on the strip of Neon Flex you previously cut.
With the pliers in one hand and the lighting strip in the other, push the power pin onto the exposed strip pins. The clear plastic clip which is situated to the centre of the power pin will meet the cut end of the strip once it is correctly in place.
Using the same process as described to attach the connectors or jumper sections, you need to connect the power cable. The female end of the power connector should be heated and positioned over the end of the lighting strip, so that the female pin openings correctly align with the ends of the male power pin.
Silicone sealant is a great option for creating a more weatherproof seal. However, for additional waterproofing of external lighting, a heat shrink tube can be very useful. These can be placed at the connection joints and those which attach to the power cord so that the tube extends 3-4mm over the end of the flex lighting strip.
When the heat shrink tube is positioned in place, simply use a heat gun to shrink the tubing around the various connection points.
If you have used a heat gun you will need to wait until the light strip is completely cool before connecting to a powerpoint.
Here at Senbe Lighting, we are committed to offering our customers the most innovative lighting solutions, whilst also helping you to achieve the desired finish. To find out more about LED Neon Flex, please contact our team today.
Quick Links
E-mail: senbe007@senbelighting.com
Tel.: +86 20 3913 7589
Mob.: +86 139 2877 1493
Add.: Building B6, Huachuang Industrial Park, Shiji Town, Panyu District, Guangzhou, 511450